Workeey is built for your phone. Scan the code with your phone to get the Android app, or open workeey.com on your phone. The iPhone app and a desktop version are coming soon.
Get the Workeey app. Same account, same jobs.


Help
How do I…?
Pick what you want to do and watch it done in the app. Each video is about a minute or less, with a narrator and every step written out.
Start free
No card needed · free plan forever
Start here
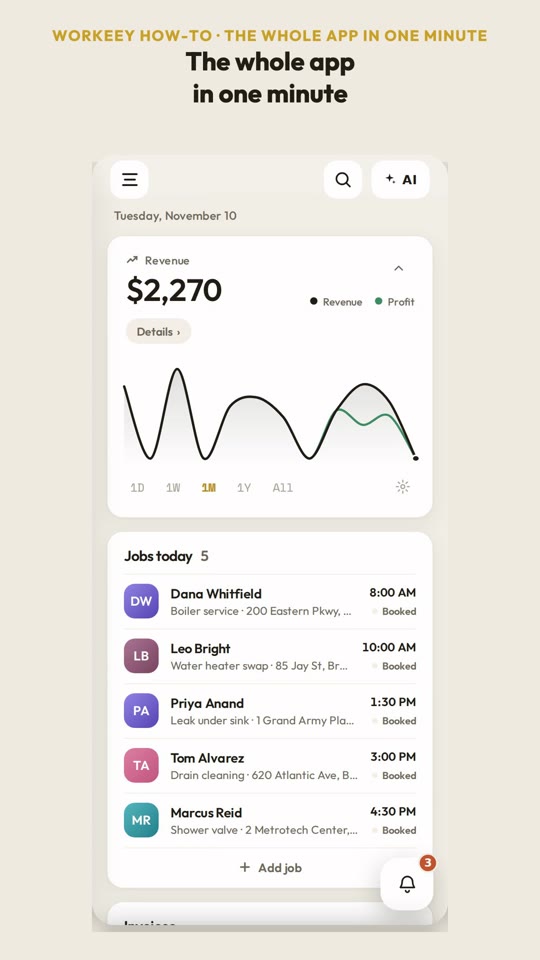 The whole app in one minute0:46A quick tour of every part of the app.
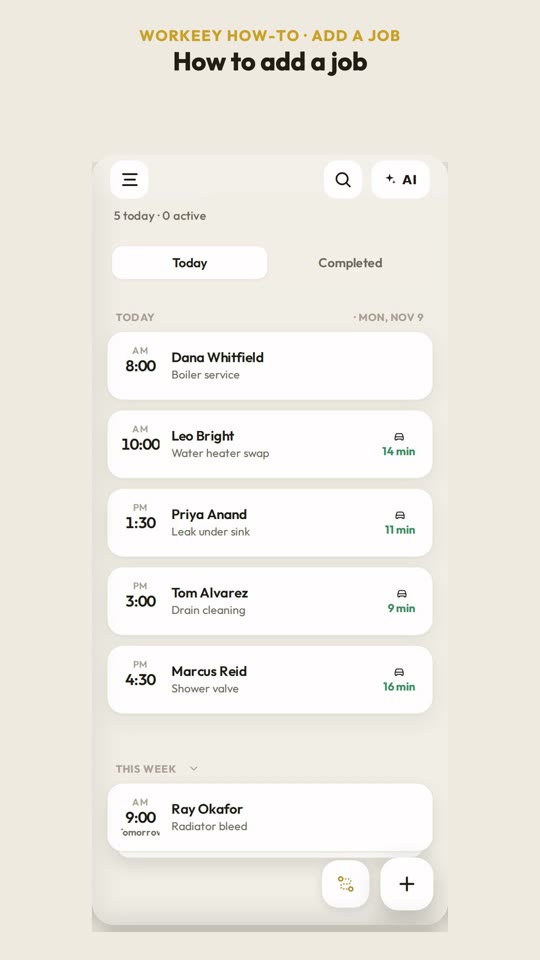 Add a job0:30Put a new job on your schedule in under a minute.
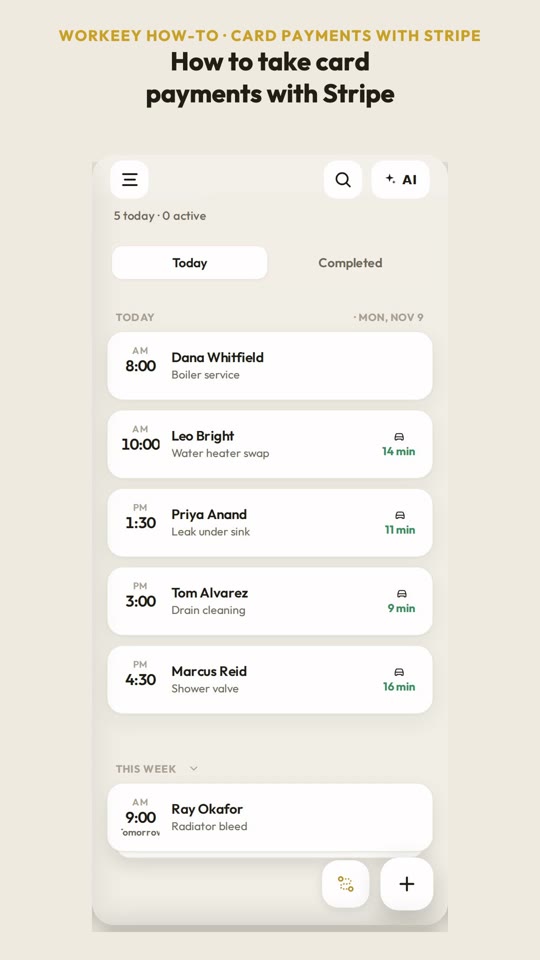 Card payments with Stripe0:25Take card payments, paid straight to your bank.
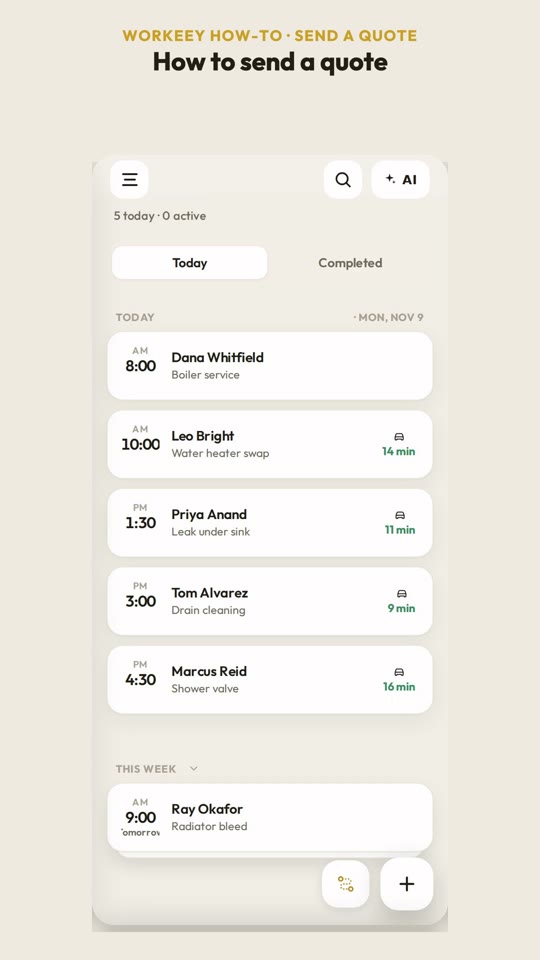 Send a quote0:23Send your customer a priced quote from the job.
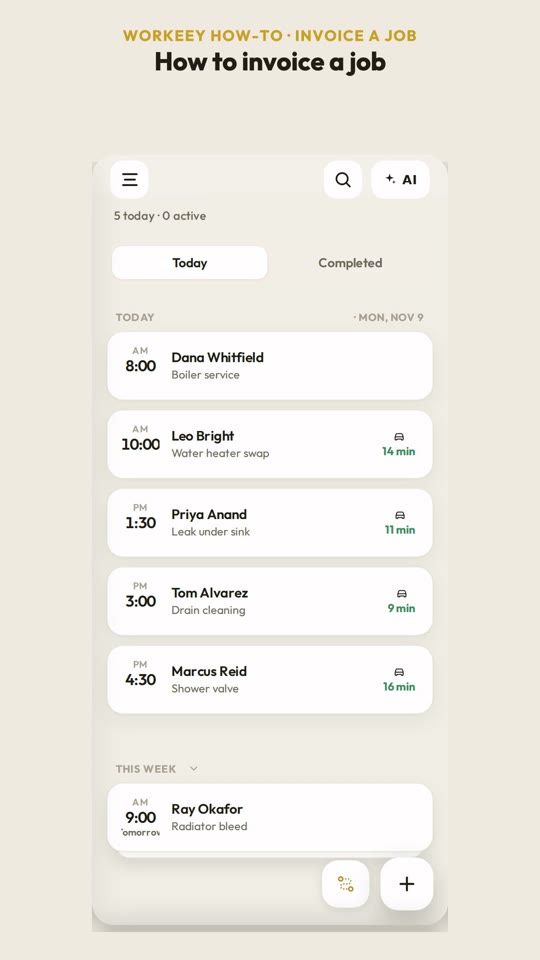 Invoice a job0:27Turn a finished job into an invoice and send it.
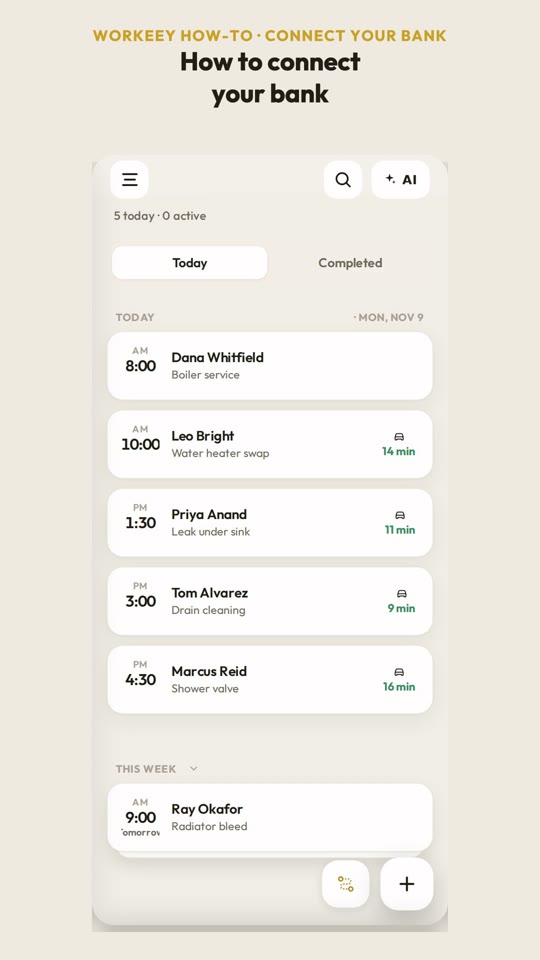 Connect your bank1:01Link your bank so payments mark invoices paid.
Jobs and your schedule
The whole app in one minute0:46A quick tour of every part of the app.
The whole app in one minute, step by step
- Here's the whole app, in one minute.
- It opens on your dashboard. Your money, and today's jobs, at a glance.
- Tap Jobs today for the full list, in order, with the drive time between stops.
- Tap plus to add a job.
- When a job is finished, swipe it. From there, you can send the invoice.
- Open the menu for the rest. Invoices shows who has paid, and who still owes you.
- Clients keeps every customer, with their job history.
- Schedule shows your day, your week and your month.
- And the AI button does the work for you. Just type what you need.
- Each of these has its own short video, step by step.
Add a job0:30Put a new job on your schedule in under a minute.
Add a job, step by step
- Here's how to add a new job.
- On your jobs list, tap the plus button.
- Type in your customer's name and phone number.
- Start typing the address, then pick it from the list.
- Open Job details, and write what the job is.
- Pick the day.
- Set the start time.
- And add your price.
- Tap Save job.
- That's it. The job is on your schedule, ready to go.
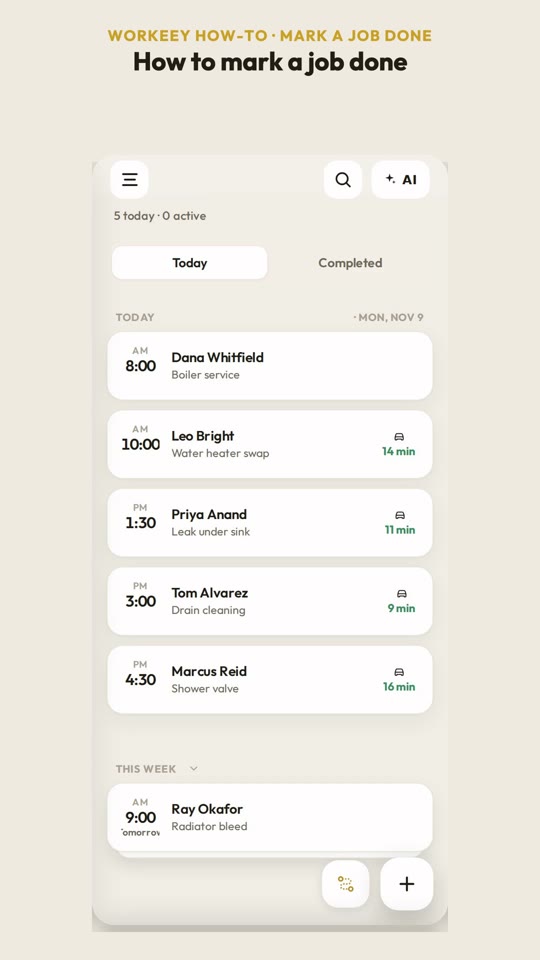 Mark a job done0:19Swipe a job done, then bill it or undo.
Mark a job done, step by step
- Here's how to mark a job done.
- On your jobs list, swipe the job to the right.
- The job is done. Tap Invoice to bill it now, or Undo if you swiped by mistake.
- Finished jobs move to the Completed tab.
- That's all it takes.
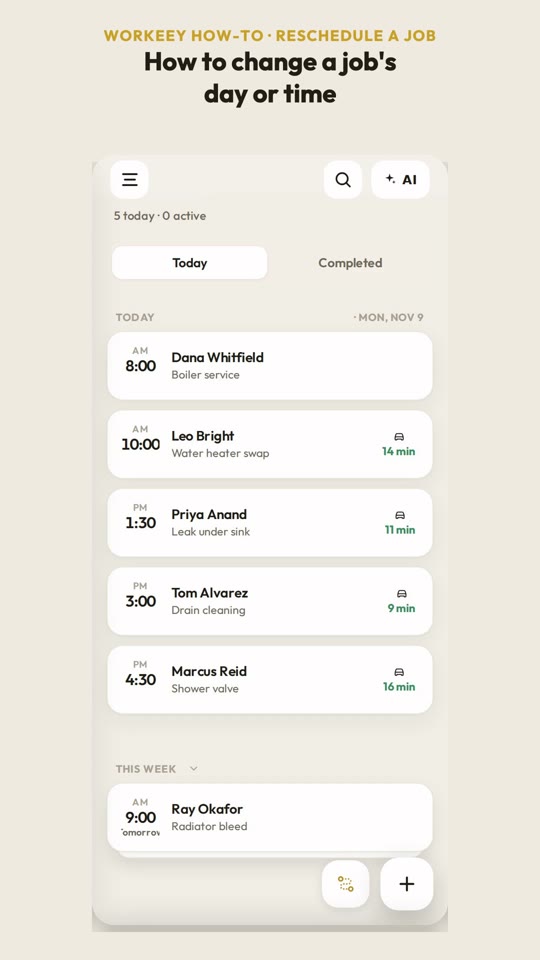 Reschedule a job0:22Move a job to a new day or time.
Reschedule a job, step by step
- Here's how to change a job's day or time.
- Open the job.
- Tap the time.
- Tap the date, and pick the new day.
- Scroll to the new start time.
- Tap Save.
- Done. The job has moved.
- To change anything else, like the price or the address, just tap it.
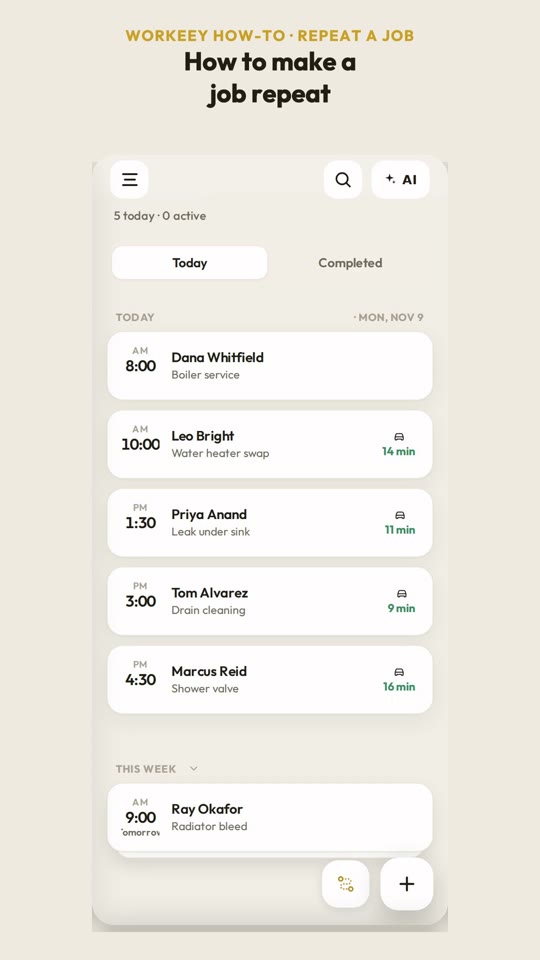 Repeat a job0:20Make a weekly or monthly job repeat by itself.
Repeat a job, step by step
- Here's how to make a job repeat.
- Open the job.
- Tap the three dots, then Repeat.
- Pick how often: weekly, monthly, yearly, or your own schedule.
- Tap Create.
- Done. The next twelve visits are on your schedule.
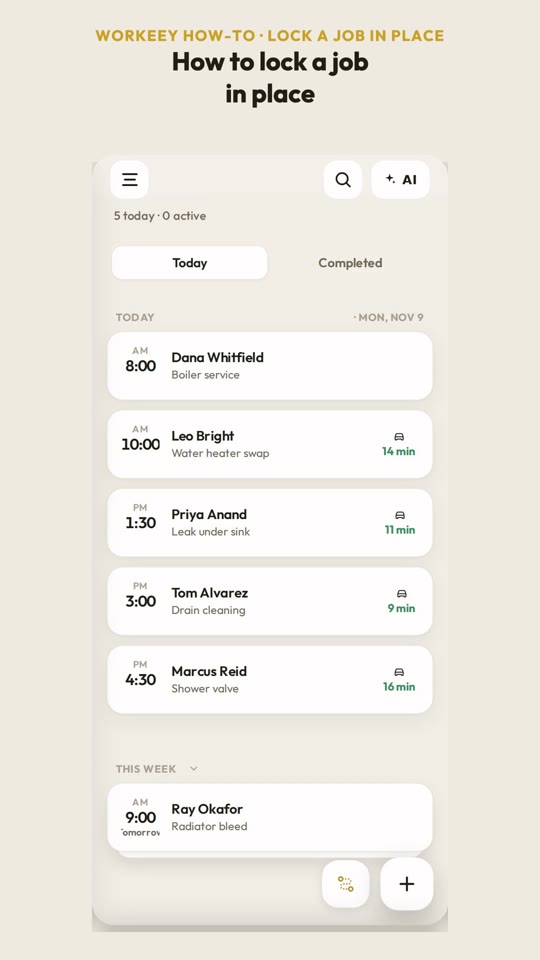 Lock a job in place0:20Keep a job at its time when you reorder the day.
Lock a job in place, step by step
- Here's how to lock a job in place, so it keeps its time.
- Open the job.
- Tap the three dots, then Lock this job.
- The job is locked.
- Now, when you optimize your route, a locked job keeps its place.
- The other stops move around it.
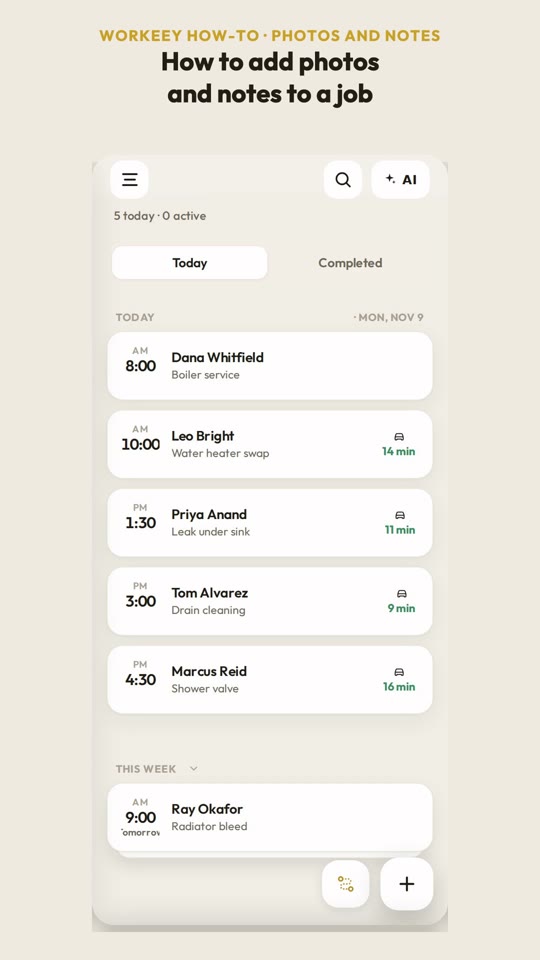 Photos and notes0:21Keep notes and photos with the job.
Photos and notes, step by step
- Here's how to add photos and notes to a job.
- Open the job.
- Tap the note box, and write down anything you'll need on site.
- To add a photo, tap the plus square.
- Take a photo, or choose one from your gallery.
- The photo and the note stay with the job, whenever you open it.
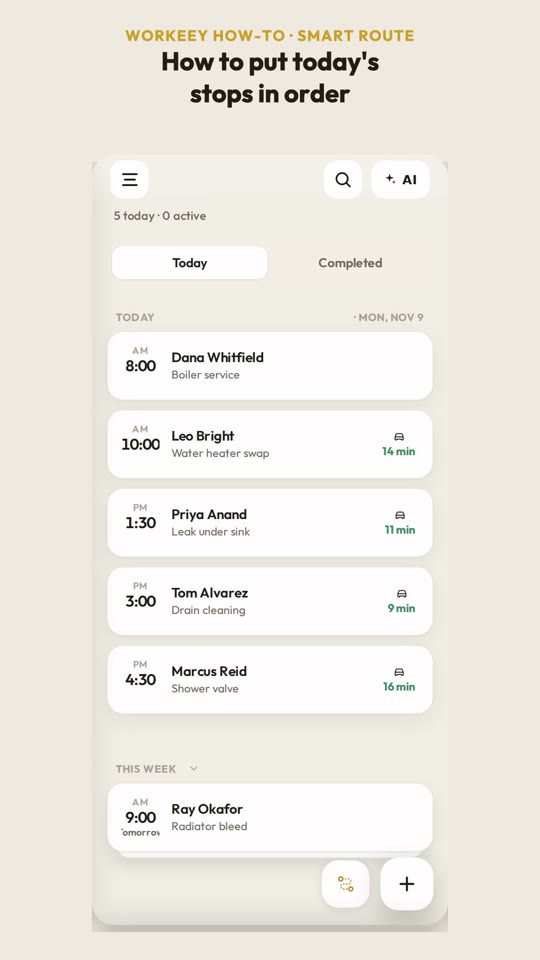 Smart route0:26Put today's stops in the shortest order.
Smart route, step by step
- Here's how to put today's stops in the best order.
- On your jobs list, tap the route button, next to the plus.
- You'll see today's stops in the order you booked them, with the miles and the drive time.
- Tap Optimize flexible.
- Your stops are put in the shortest order, and you can see how much driving it saves.
- When you're ready to go, tap Start navigation.
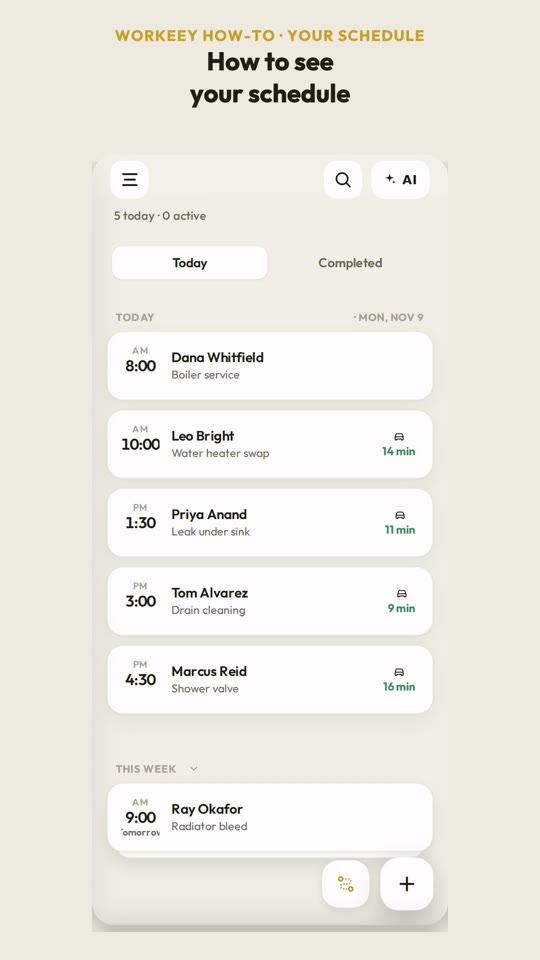 Your schedule0:20Your day, week and month at a glance.
Your schedule, step by step
- Here's how to see your schedule.
- Open the menu, and tap Schedule.
- The Day view shows each job at its time, with the drive between them.
- Tap Week, to see your whole week.
- Or Month, for the big picture.
- Every job you add shows up here.
Quotes and invoices
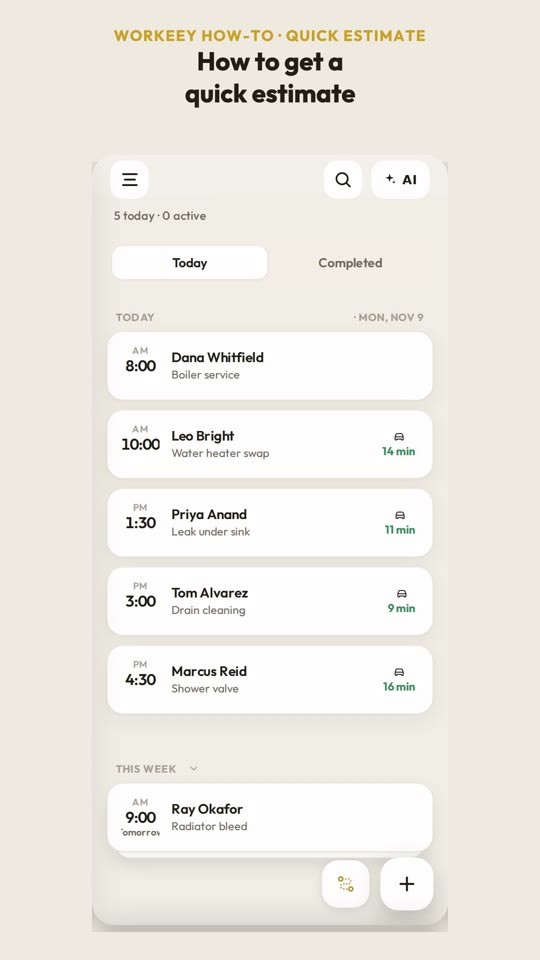 Quick estimate0:29Get a priced estimate from a short description.
Quick estimate, step by step
- Here's how to get a quick estimate for a job.
- Open the job.
- Tap Quick estimate.
- Write what the job needs: the work, the parts, and about how long.
- Tap Generate estimate.
- Each line is priced, with a suggested quote. Tap any price to change it.
- Tap Use, to make it the job's price.
- Done. The job has its new price, ready for a quote or an invoice.
Send a quote0:23Send your customer a priced quote from the job.
Send a quote, step by step
- Here's how to send your customer a price quote.
- Open the job.
- Tap the three dots at the top.
- Tap Share quote.
- Your quote is ready, with the price from the job.
- Tap Email.
- Your mail app opens with the quote, ready to send. Or tap Share, to send it by text or any app you like.
Invoice a job0:27Turn a finished job into an invoice and send it.
Invoice a job, step by step
- Here's how to invoice a job.
- Open the job you finished.
- Tap Create invoice.
- The job and its price are already filled in.
- If you need to, add another line, like parts.
- When it looks right, tap Create and send invoice.
- Pick how to send it. Email is one tap.
- That's it. Your customer has the invoice.
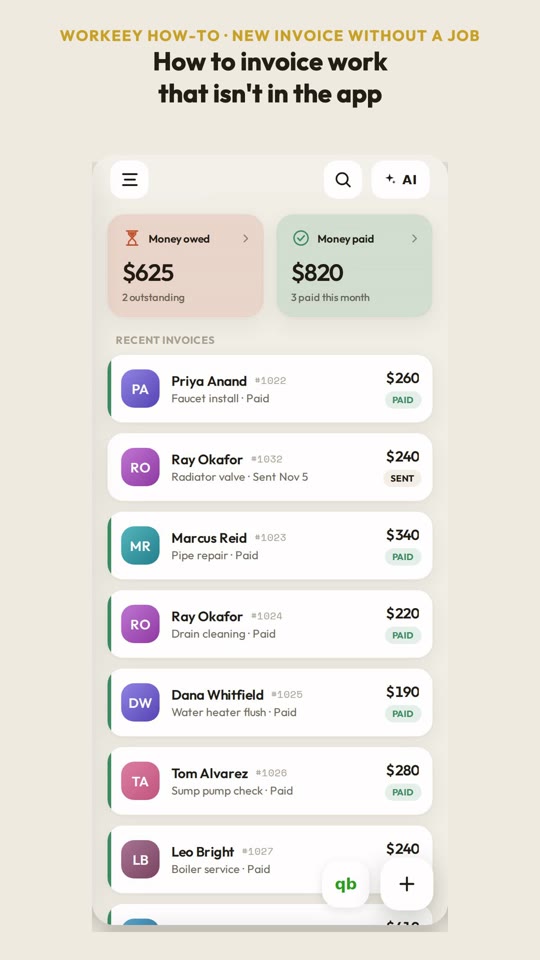 New invoice without a job0:31Bill a customer without making a job first.
New invoice without a job, step by step
- Here's how to send an invoice for work that isn't in the app yet.
- On the Invoices page, tap the plus button.
- Type the customer's name, then tap New job.
- Add their details, and what the job was.
- Add what you're charging for, and the price.
- Tap Create and send invoice.
- Pick how to send it. Email is one tap.
- Sent. The job and the invoice are both saved for you.
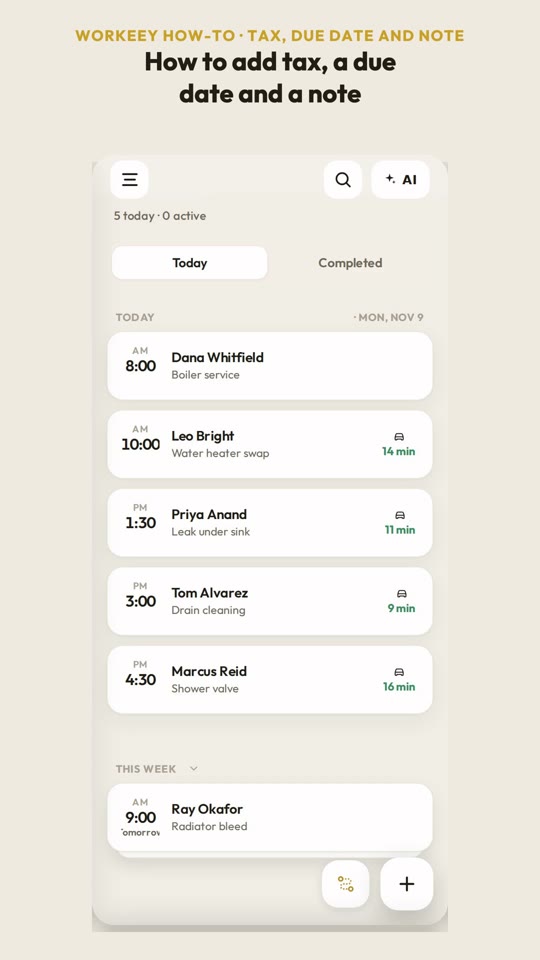 Tax, due date and note0:26Add tax, a due date and a note to an invoice.
Tax, due date and note, step by step
- Here's how to add tax, a due date, and a note to an invoice.
- Open the job, and tap Create invoice.
- Tap More options.
- Type your tax rate.
- Set how many days they have to pay.
- Add a note, like your payment terms, or a thank you.
- The total now includes the tax.
- Then send it, the same as always.
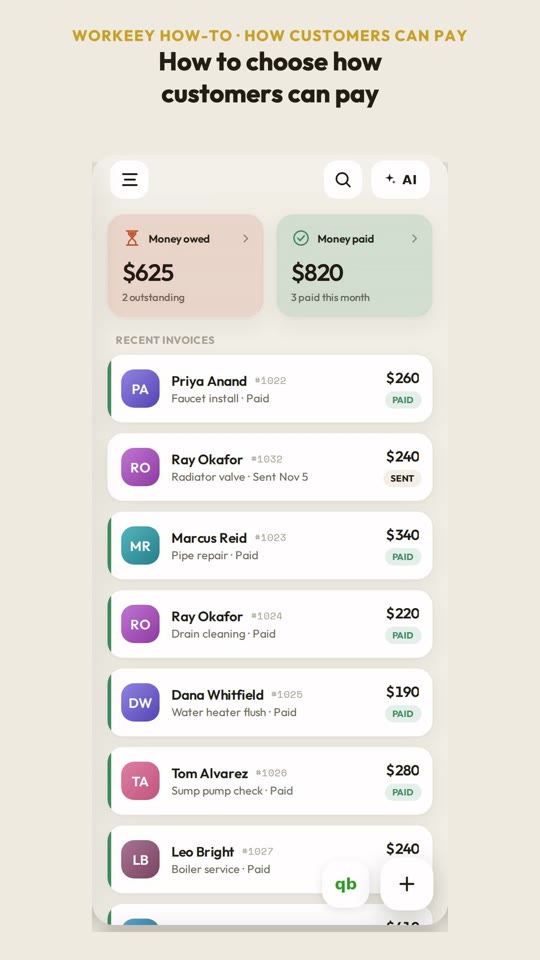 How customers can pay0:34Choose how customers can pay: card, bank or Zelle.
How customers can pay, step by step
- Here's how to choose how your customer can pay an invoice.
- On a new invoice, tap How they'll pay.
- Card lets them pay by card. The fee is shown under it.
- Bank transfer costs less, so it's the one we recommend.
- For Zelle or PayPal, tap it once to add your details.
- If they've already paid you, pick Already paid. The invoice goes out with no payment link.
- Untick any way you don't want on this invoice.
- Your customer sees only the ways you picked.
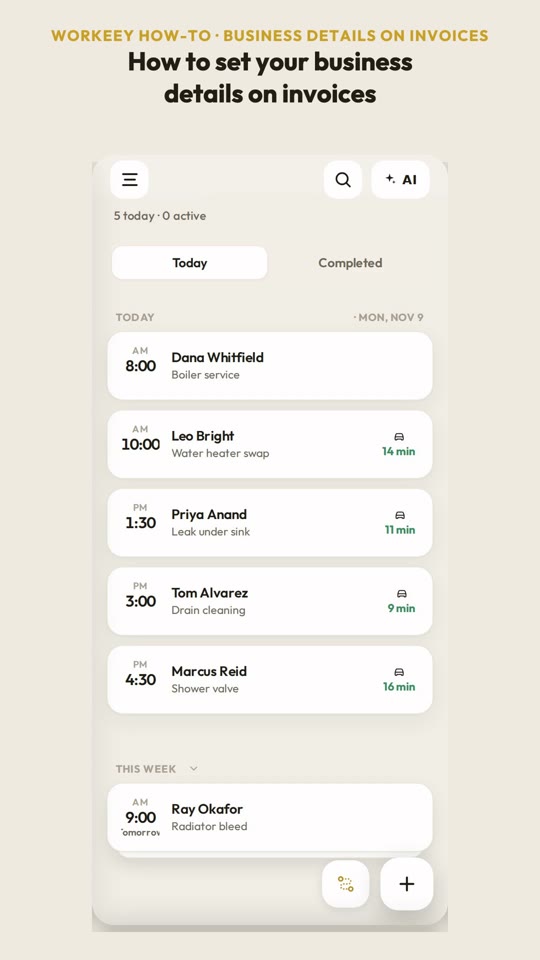 Business details on invoices0:30Your name, address and logo on every invoice.
Business details on invoices, step by step
- Here's how to set the business details on your invoices and quotes.
- Open the menu, tap Settings, then Invoice and business info.
- Your business name, your name, phone and email print at the top of every invoice.
- Add your business address.
- You can add your logo, and a signature, too.
- Tap Save.
- Saved. Every invoice and quote you send carries these details.
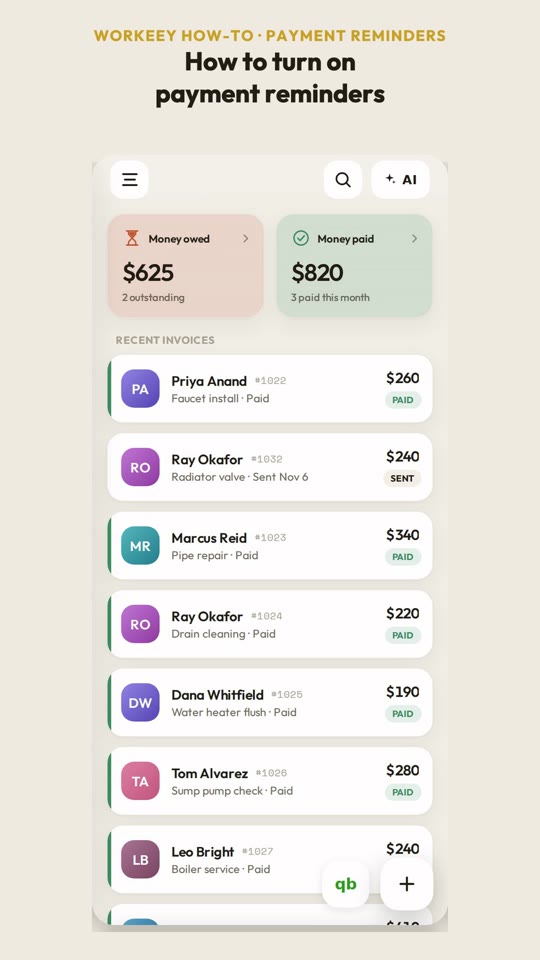 Payment reminders0:29Let polite texts chase late payers for you.
Payment reminders, step by step
- Here's how to turn on payment reminders for an invoice.
- Open an unpaid invoice.
- Turn on Automatic payment reminders.
- The first time, confirm your customer is OK with getting texts.
- Pick how often they get a reminder.
- The message is ready, with the pay link. Tap it to change the words.
- Done. A reminder goes out every week, up to eight in all, and they stop as soon as it's paid.
The reminders also stop when you switch them off or the customer replies STOP. Each plan includes a number of reminder texts a month: see pricing.
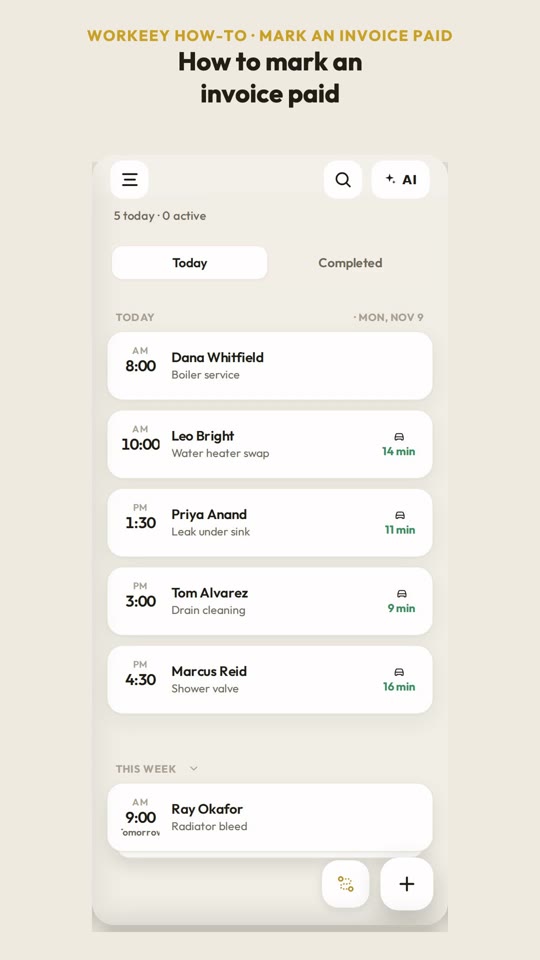 Mark an invoice paid0:17Swipe an invoice paid when the money comes in.
Mark an invoice paid, step by step
- Here's how to mark an invoice paid.
- Open the menu, and tap Invoices.
- Find the invoice your customer paid, and swipe it to the right.
- It's marked paid, and the money owed and paid totals update.
- That's it.
Customers and money
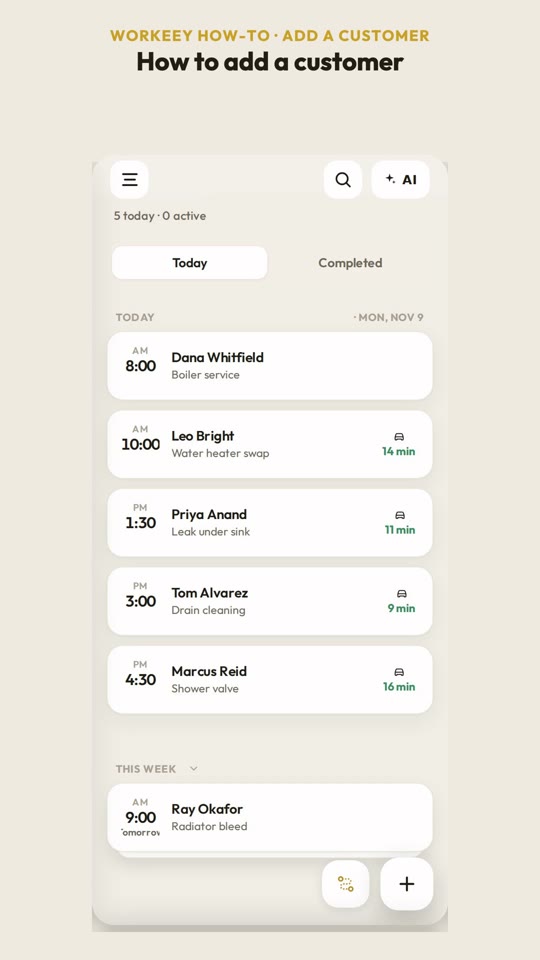 Add a customer0:25Save a customer for next time.
Add a customer, step by step
- Here's how to add a new customer.
- Open the menu, tap Clients, then the plus button.
- Type their name, phone number, and email.
- Add their address.
- Add a note if it helps, like a gate code, or which door to use.
- Tap Save client.
- Saved. They're ready for their first job.
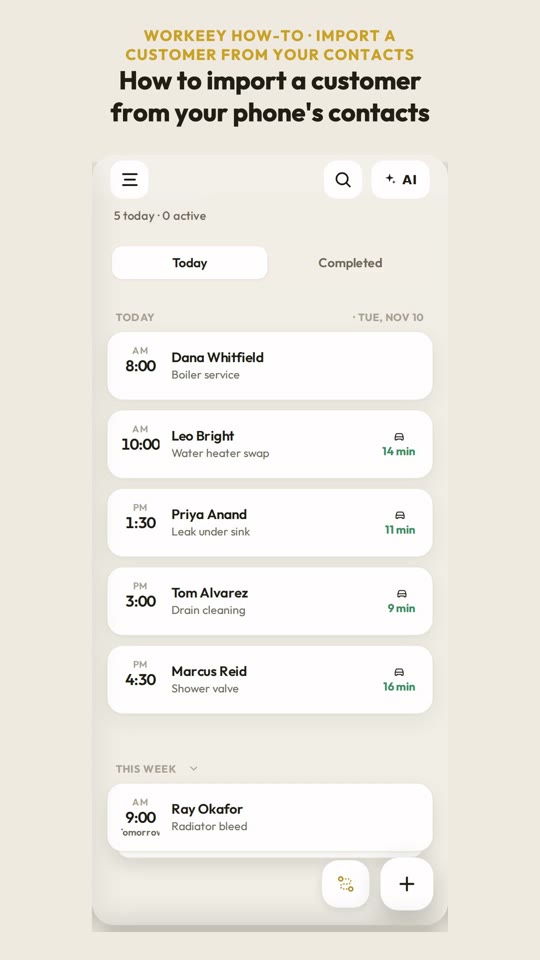 Import a customer from your contacts0:34Add a customer straight from your phone's contacts.
Import a customer from your contacts, step by step
- Here's how to add a customer straight from your phone's contacts.
- Open the menu, and tap Clients.
- Tap the plus button.
- Under the notes box, tap Import from my contacts.
- Your phone's own contact list opens. Tap the person you want.
- Their name and number are filled in for you.
- Add an address or a note, if you like.
- Then tap Save client.
- Saved. It's one person at a time, and it works in the phone app, not on a computer.
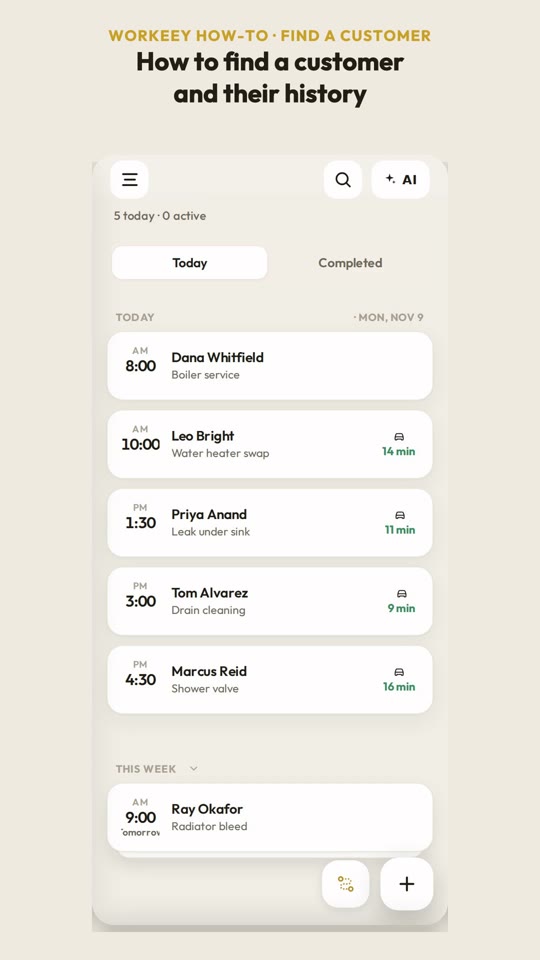 Find a customer0:26See a customer's details and every job you did for them.
Find a customer, step by step
- Here's how to find a customer, and everything you've done for them.
- Open the menu, and tap Clients.
- Tap the customer.
- Their phone, email and address are at the top.
- Below, you'll see every job, with the price, and whether it's paid.
- To book them again, tap New job.
- That's their whole history, in one place.
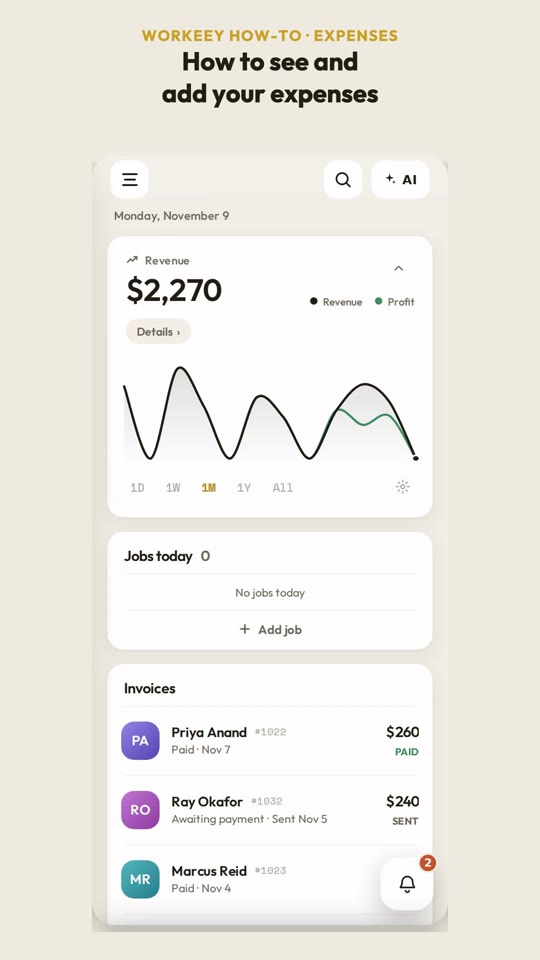 Expenses0:30Log what you spend so your profit is right.
Expenses, step by step
- Here's how to see and add your expenses.
- On the Dashboard, tap Details, under your revenue.
- Tap Expenses.
- You'll see every expense, with the total for the month.
- Tap Add expense.
- Write what it was for, and how much it cost.
- Tip: tap Add photo to keep the receipt with it.
- Tap Save expense.
- Saved. Your profit counts it right away.
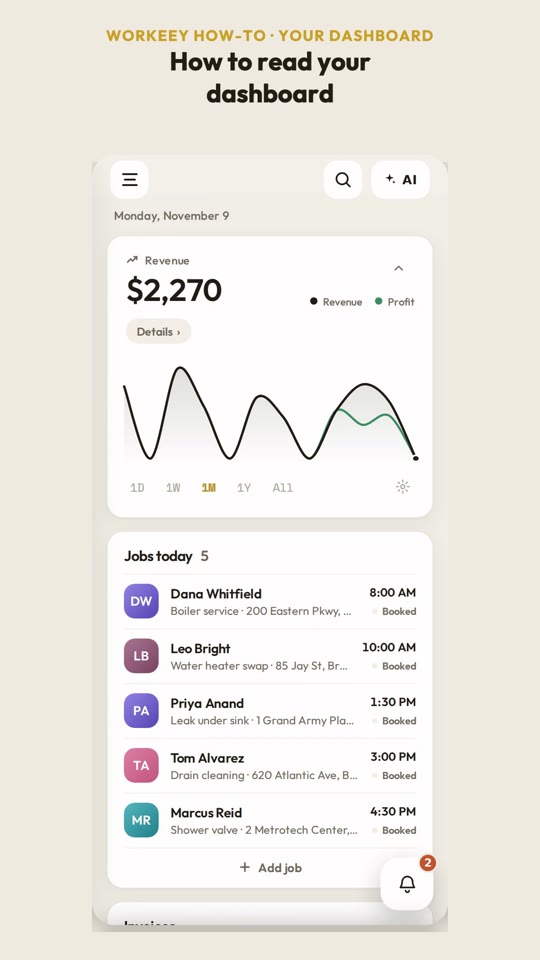 Your dashboard0:34Revenue, profit and who still owes you.
Your dashboard, step by step
- Here's how to read your dashboard.
- At the top is your revenue, and the chart shows how it's going.
- Pick a range: a day, a week, a month, a year, or all time.
- For the full picture, tap Details.
- Net profit is what you made, after your expenses.
- Collected is money you've been paid. Outstanding is money still owed to you.
- Further down, you can see which services bring in the most.
- That's your business, at a glance.
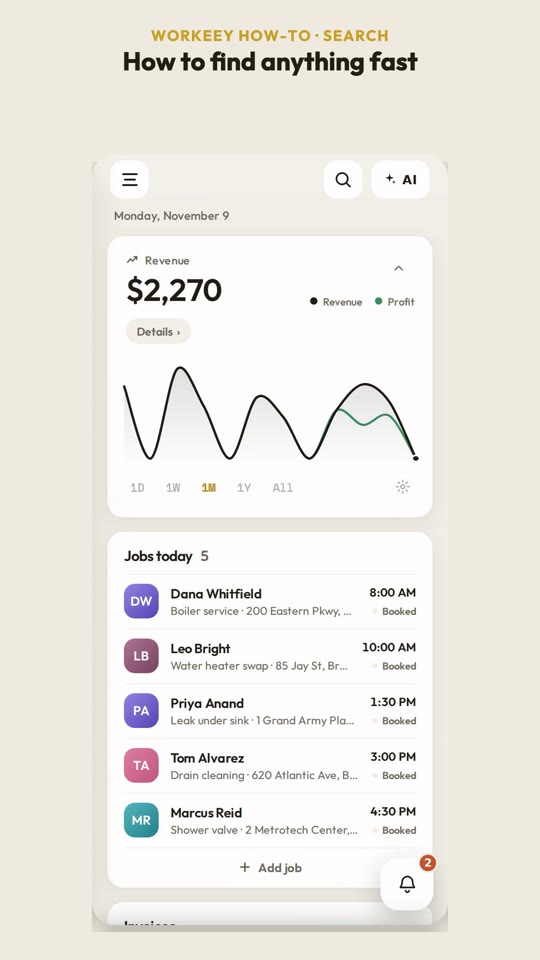 Search0:24Find any job, customer or invoice fast.
Search, step by step
- Here's how to find anything, fast.
- On the Dashboard, tap the magnifying glass. It searches everything.
- Type a name, or what the job was.
- Matching jobs and invoices show up as you type.
- Tap one to open it.
- That's it. On any other page, the magnifier searches just that page.
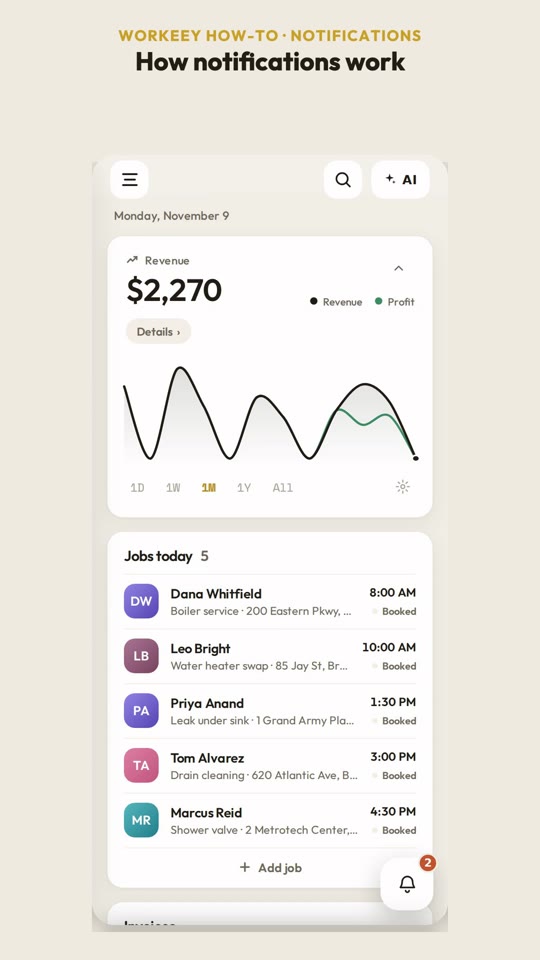 Notifications0:31Pick which alerts you get and when.
Notifications, step by step
- Here's how notifications work.
- On the Dashboard, tap the bell.
- Your latest notifications are here, like an overdue invoice, or tomorrow's first job.
- To choose what you're told about, open Settings, then Notifications.
- Turn each kind on or off: jobs, payments, notes, clients, and more.
- Quiet hours keep them quiet overnight.
- That way, you only hear about what you want.
The AI assistant
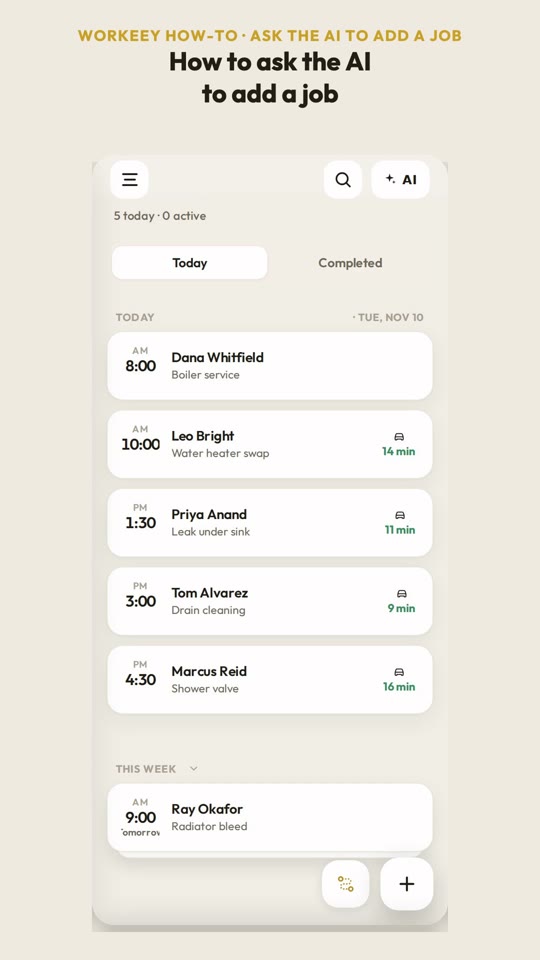 Ask the AI to add a job0:25Tell the assistant what to book and it adds the job.
Ask the AI to add a job, step by step
- Here's how to ask the AI to add a job for you.
- Tap A I, at the top.
- Type what you need, the way you'd text it.
- Tap send.
- The AI writes the job out, so you can check it.
- If it's right, tap Apply.
- Done. The job is added to your schedule, and the card shows it's applied.
Connect your other tools
Card payments with Stripe0:25Take card payments, paid straight to your bank.
Card payments with Stripe, step by step
- Here's how to take card and bank payments, with Stripe.
- Open the menu, tap Settings, then Connections.
- Tap Stripe.
- You connect your own Stripe account, so payments land straight in your bank.
- Tap Connect with Stripe.
- Stripe's own page opens. Finish setting up there. It takes about five minutes, one time.
Connecting Stripe needs a Workeey account with a confirmed email.
Connect your bank1:01Link your bank so payments mark invoices paid.
Connect your bank, step by step
- Here's how to connect your bank, so invoices mark themselves paid.
- Open the menu, tap Settings, then Connections.
- Zelle and PayPal payments go straight into your bank. Connecting it lets those invoices mark themselves paid.
- Next to Bank, tap Connect.
- Plaid opens, to connect your bank securely. The phone number is optional, so you can skip it.
- Search for your bank, and tap it.
- Sign in with the username and password you use at your bank. This video uses a test bank.
- Plaid lists the accounts it will connect. The connection is read-only. Tap Continue.
- Then tap Finish without saving.
- You're back, and your bank shows Connected. Paid invoices now mark themselves paid.
- Tap Bank any time to check it now, or to disconnect.
Connecting your bank needs a Workeey account with a confirmed email.
 QuickBooks0:26Send invoices and payments to QuickBooks.
QuickBooks, step by step
- Here's how to connect QuickBooks. It's on the Pro and Premium plans.
- Open the menu, tap Settings, then Connections.
- Tap QuickBooks.
- Once it's connected, your invoices, clients and payments show up in your books on their own.
- Tap Connect QuickBooks.
- QuickBooks opens its own sign-in page. Sign in with your QuickBooks account. Your password is never shared with us.
- Pick the company to connect.
- QuickBooks asks you to allow the connection. This video uses a test company. Tap Connect.
- You're back, and QuickBooks shows Connected, with your company's name.
- You can bring in your QuickBooks history, or skip it and sync new work from now on.
- Tap Sync now, and your invoices go to QuickBooks.
 Google Calendar0:32See your jobs in Google Calendar.
Google Calendar, step by step
- Here's how to connect Google Calendar. It's on the Pro and Premium plans.
- Open the menu, tap Settings, then Connections.
- Tap Google Calendar.
- Your jobs show up in Google, and your other events show up here, so you don't double-book.
- Tap Connect Google Calendar.
- Read what it will do with your calendar, then tap Allow and continue to Google.
- You'll approve it on Google's own page, and you're done.
Start free
Free plan forever · upgrade only if it earns it